If you don’t wanna read, the pictures are at the bottom!
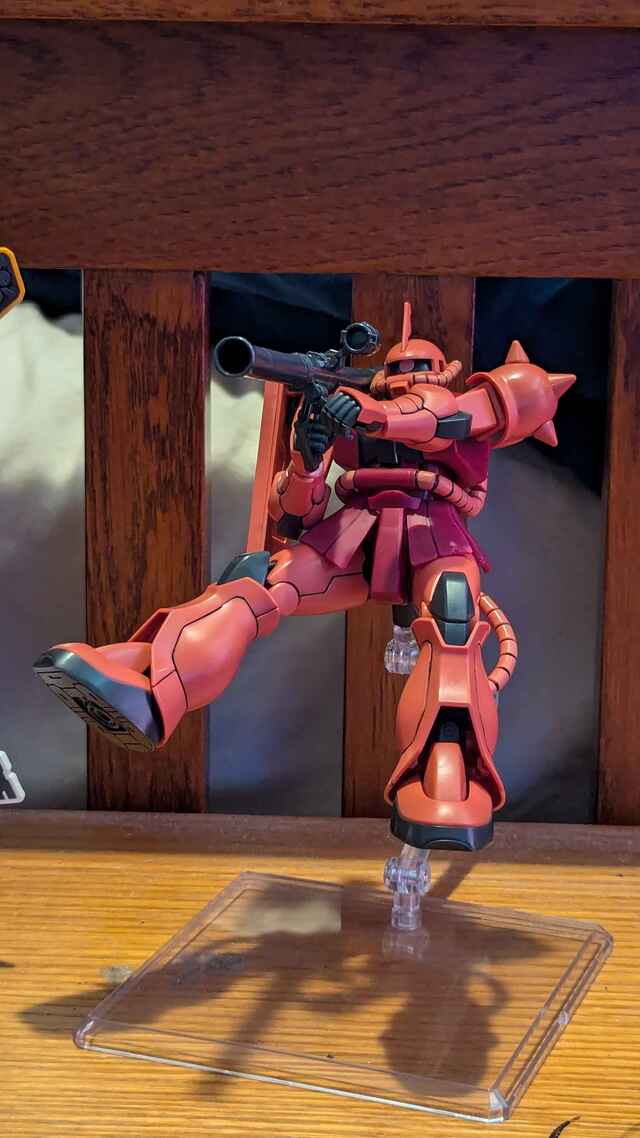
This build was inspired by Alma Stirner’s High Mobility Ground Type Zaku II from GBO: Code Fairy. It’s a kitbash between Char’s Zaku II revive and leftover parts from other kitbashes (a Gouf Custom and a Kycilia’s forces Zaku I). Minor parts include parts from the Ez-8 (thruster bells), Maganac (new heat axe), and the standard Gouf (shoulder horn thingies). I ordered a pack of metal detail parts for the power pipes, but I forgot to buy one for the head (whoops XD).
This build involved some scratchbuilding and joint customization. I scratchbuilt the 2 leg thruster packs, the chest armor, and the arm missile launcher. For the leg thrusters, I used some Crayola air-dry clay to build up the basic shapes, and then I used plastic plates to build up around them. It was an odd technique that I dreamt up overnight cuz I don’t have a 3d printer. Anyways, I had to extend the shoulder joints, of the Gouf in order to make it fit onto the Zaku II. Luckily, I did not have to make any changes to the hip connections (that would have been absolute h-e-double hockey sticks). Details were done with plastic plates cut to shape.
For the painting, I used only spray paints and acrylics. If any of you guys can’t afford an airbrush system, I highly recommend trying out x2 Rustoleum spray paints. They have a variety of colors and come out quite smoothly. I masked off parts to create the purple triangle camo & the red stripes on the thighs. I did detail painting with some shiny-boi acrylics and painted the heat axe with a couple of different shades of orange. Weathering was done with acrylics as well. I used some leftover waterslides from a variety of kits and did a matte coat to finish it off.
I made the base out of some wood and plastic plate. I scribed some lines, masked off a design, and weathered it a little. I made the little name card thingy on Google slides and printed it on some photo paper.
Overall, this project took me around 7 months to complete. I only truly worked on it on weekends because of school and all, and I also hit some builder’s burnout for a little. I’m pretty happy with how it turned out!
Here are some more pictures!


Thanks for checking out my work!


