.png)
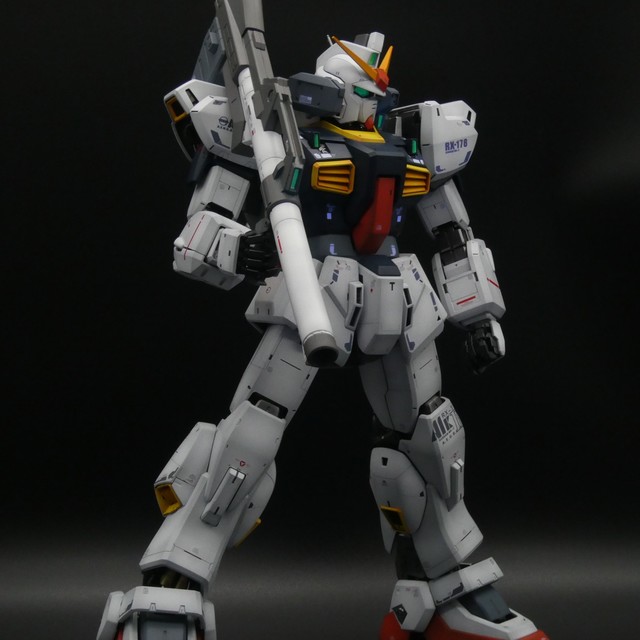
For this kit I wanted to begin to learn how to scribe. I decided on using the HG Zeta Revive as a base because I had previously seen some “detail-up” versions of the Zeta, and i wanted to emulate that. Since it was my first time scribing, I wanted to keep it simple.
Planning
To start, the wave rider for this kit looks very nice. I personally prefer the MG 2.0’s wave rider, but the HG’s is very animation accurate. I found a pretty good lineart for the Zeta on google that I could use to plan out some of my panel lines.


Scribing and Sanding
Here I tried to follow the plan that I had made, but I had over-estimated by ability to scribe. I ended up toning down the amount of scribing I had to do.


Painting
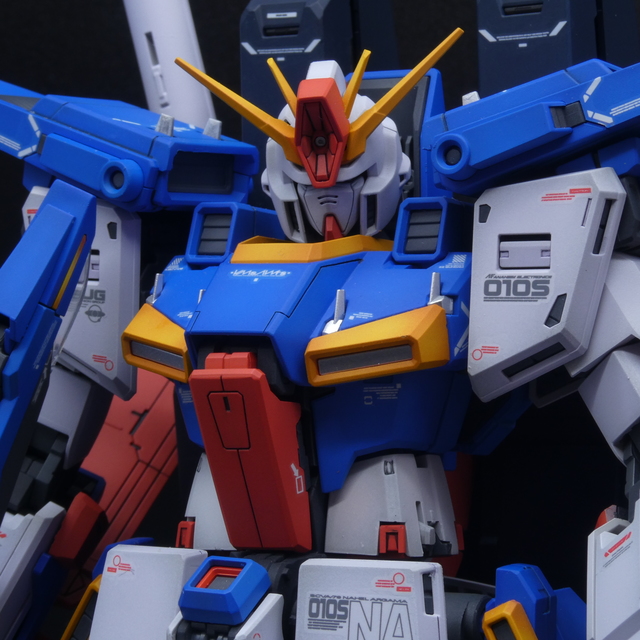
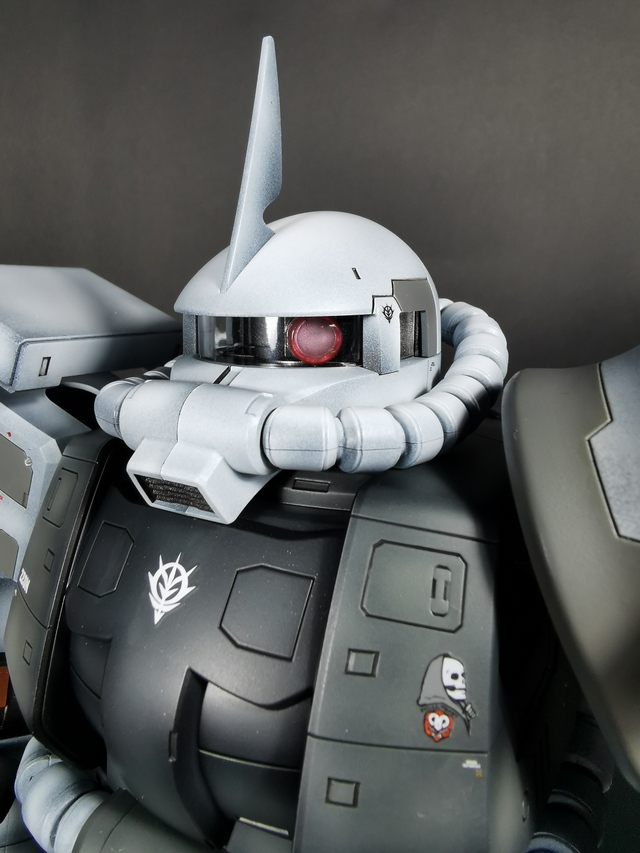
Painting is always fun. On my previous build, the MG Spiegel, I experimented with a blue undercoat for the shading on the whites, and a black base coat for everything else. The blue base gives the white a much colder tone, which I love!


The navy blue I used on the wings is the exact same, custom-mixed blue I used for the body of the MG Spiegel. And instead of preshading on this colour, I used highlighting instead, to make the shades stand out more since it was a darker colour.


Decals and Top-coat
The decals that I used for this kit was the Gundam Decal 108 - Mobile Suit Zeta Gundam/Gundam ZZ Multiuse 1 set from Bandai. Before decalling and panel-lining I laid down a coat of Gaianotes EX-03 Ex-Clear. After decalling and panel-lining, I used EX-04 Ex-Flat Clear


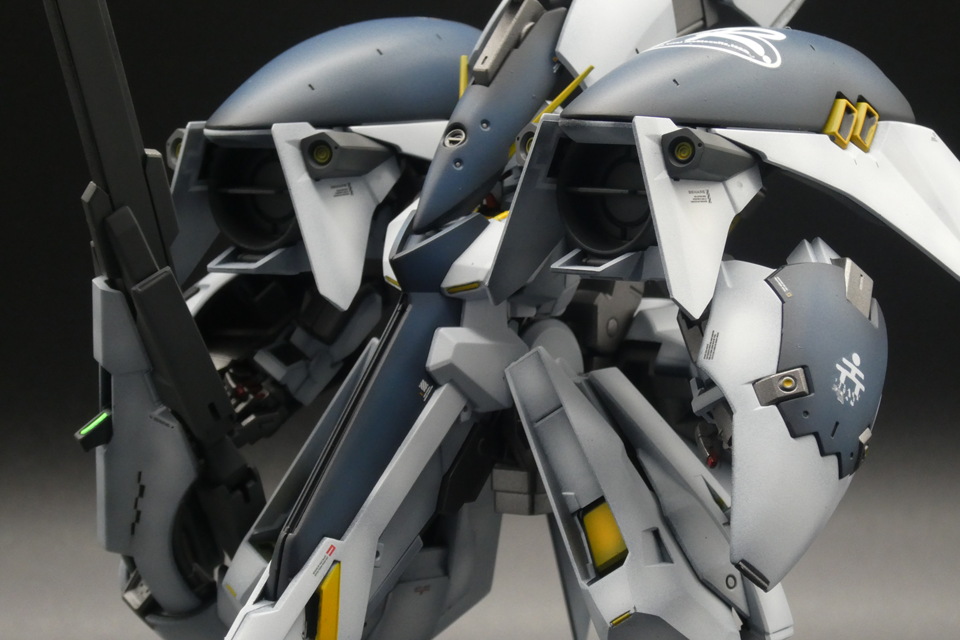
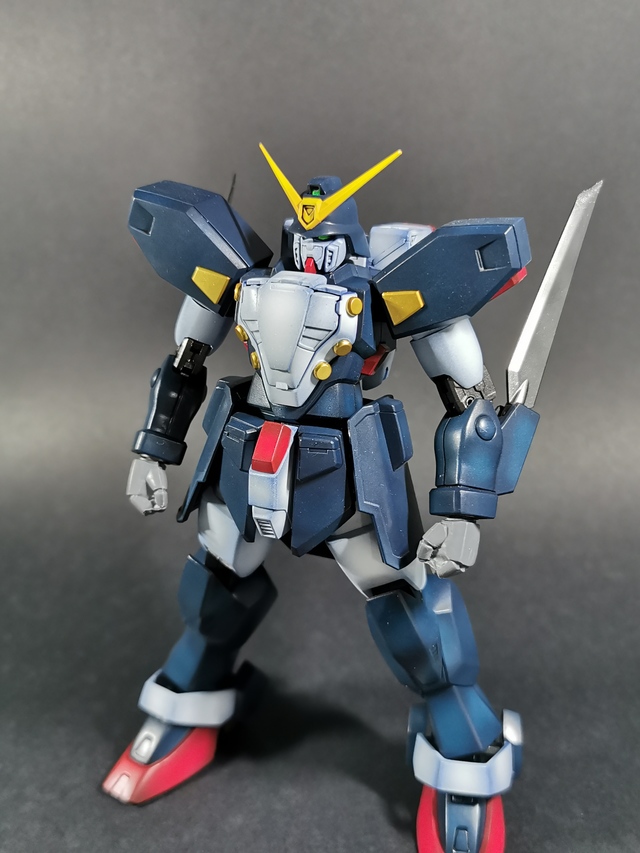
Final Images
I feel this kit turned out very well, one of my best paint jobs yet. I’ve still got a long way to go.


Colours
- V-Fin Yellow: Gaianotes Sunshine Yellow (with white undercoat)
- Yellow: Gaianotes Sunshine Yellow (with orange undercoat)
- White: Gaianotes Neutral Gray 1 (Tamiya Royal Blue undercoat)
- Navy Blue: Gaianotes Ultra Blue + Black (20:3 ratio)
- MS Blue: Gaianotes Cobalt Blue
- HyperMega Launcher Blue: Gaianotes Ultra Blue
- Red: Mr Hobby Red Madder
- Frame: Gaianotes Star Bright Iron, Star Bright Silver
- Eyes: Gaianotes Star Bright Silver -> Gaianote Flourescent Green
- Cameras: Gaianotes Star Bright Silver ->Tamiya Clear Blue