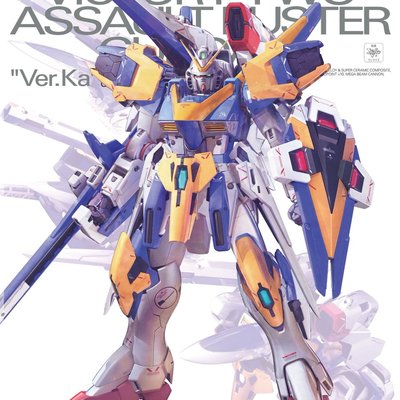


This is my favorite build so far. I was aiming for a super clean look with extra color separation and panel line details, especially in the large white areas of the mobile suit.
I started with just the arms and built them to completion as a basis for the overall style and level of detail, and to make sure I liked the paint colors.


This kit has an annoying seam line down the side of the head. Since it comes with two core fighters, and therefore two heads, I decided to try removing the seam line on one head. I figured if it ended up looking bad, I could leave the seam line on the other head and use it with the completed kit.
Removing the seam line went okay, and I was pleased with the result given that it was my first attempt at doing something like this. In the end, I decided that I could do even better and I did remove the seam line on the second head as well. That second attempt came out even better, and that’s the one I used in the final version of the build.

After completing the torso, arms, and one core fighter, I was feeling a little burned out on the project. I ended up taking a break to work on some simpler builds before continuing on to the legs and weapons.


Then, it was time to complete this project. I feel like my scribing skills improved a lot during this build. Toward the end, panel line scribing had become my favorite part of the process.
Sometimes I like to just stop and take photos of unassembled parts during the scribing and painting process.


Since I was building this kit at the same time that I was developing Gunpla Gallery, I printed some custom Gunpla Gallery logo decals and hid one on its left shin.
Here are a few more close-up shots of the final build.


